Tool Settings
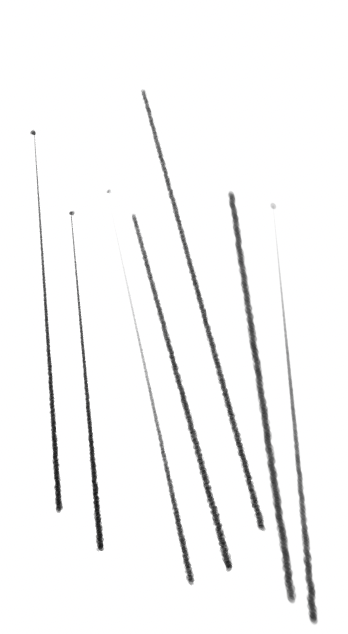
While drawing the lines, vary the pressure to create variation in the stroke thickness.
The more your press, the thicker your stroke. The less pressure, the thinner and more delicate your line becomes. Just like real Ink.
These icons show you, that your Brush has been saved with the color and the tool Settings.
When saving your Brush, make sure to activate these Settings.

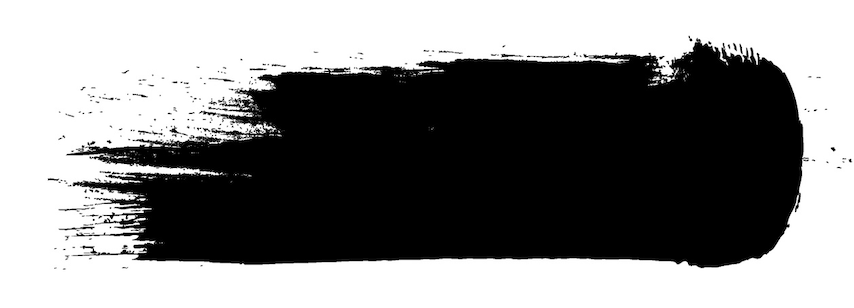
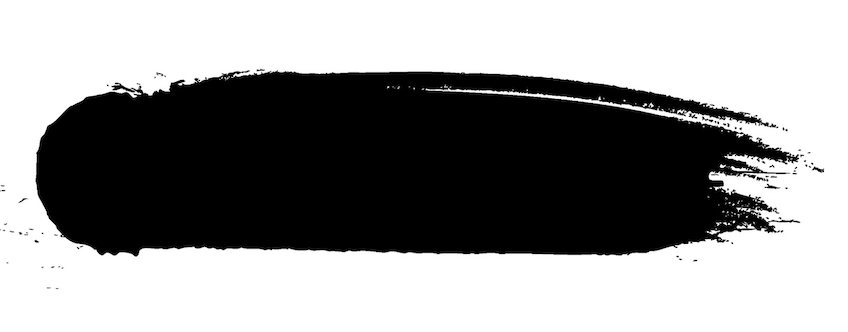
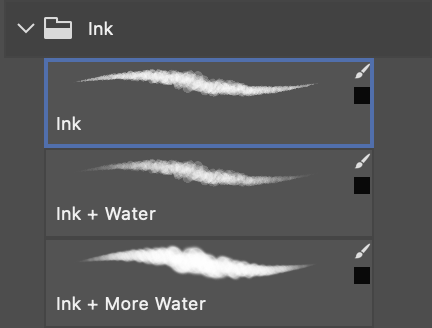
Ink + More Water Brush
For this Brush, we also turn on the Flow Jitter in the Transfer Section, and set the Control to Pen Pressure. To make it look like we added even more water, we turn the Flow down to 38 percent and save the brush with those settings.
Ink + Water Brush
In the Transfer Settings, we turn the Flow Jitter on to 30 percent and set the Control for the Flow to Pen Pressure.
More Brushes, More Water!
In your Tool Settings, make sure your Blend Mode is set to Normal, Opacity and Flow are set to 100 percent.
Before you save the brush, select black as your foreground color, to include it into the brush.


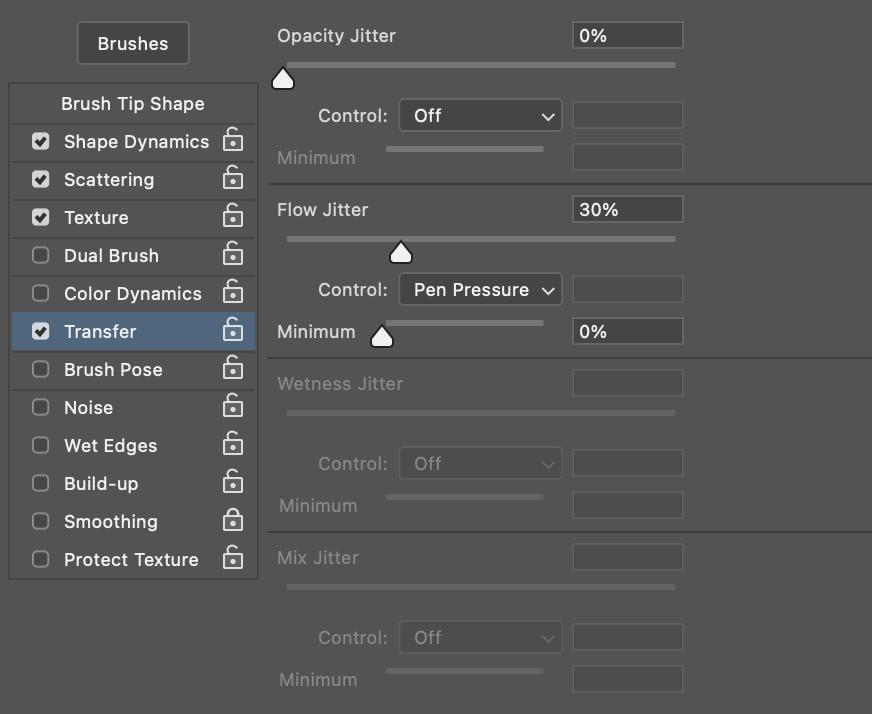
The next two brushes are based on our first ink brush, but we want to make it look like we added more and more water to the ink. To achieve that, we simply turn on the transfer in the Brush Settings.
Voila! Ink Brushes!
Watch the Inking
Time Lapse

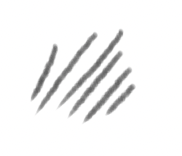
Load the Texture into your brush
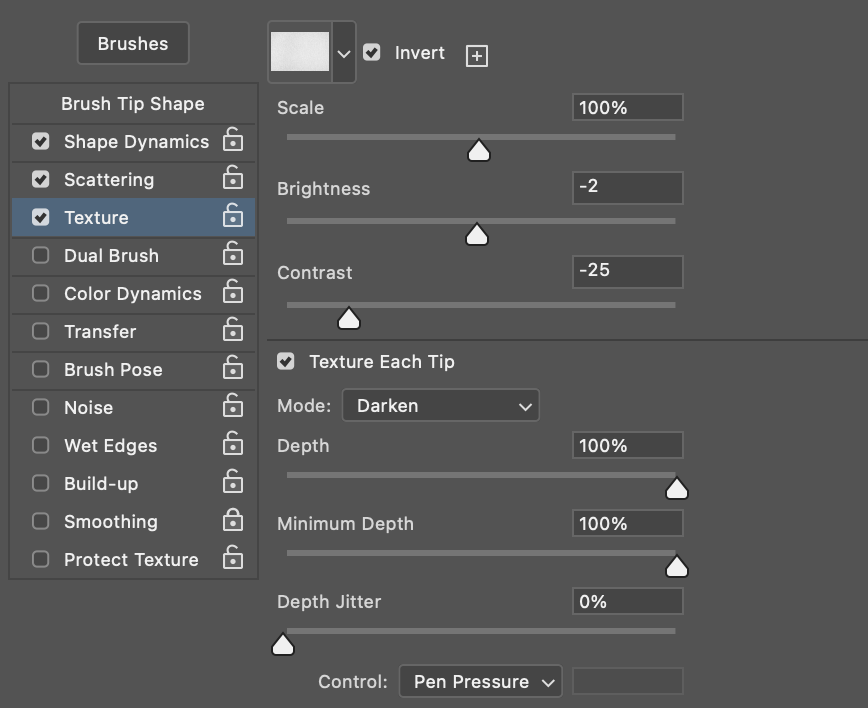
After I turned the Texture into a seamless pattern, and saved it in my Photoshop Pattern Library, I was able to load it into my Brush.
Depending on the size of your file, you have to play with the scale of the texture.
Most important is to set the Blend Mode to Darken, set the Control to Pen Pressure, and set the Minimum Depth to 100 percent.
After this, you can play with the Brightness and Contrast until you have the texture that you like best.
To download this free texture, click on
the image.
Texture
Scattering
Shape Dynamics
Brush Tip
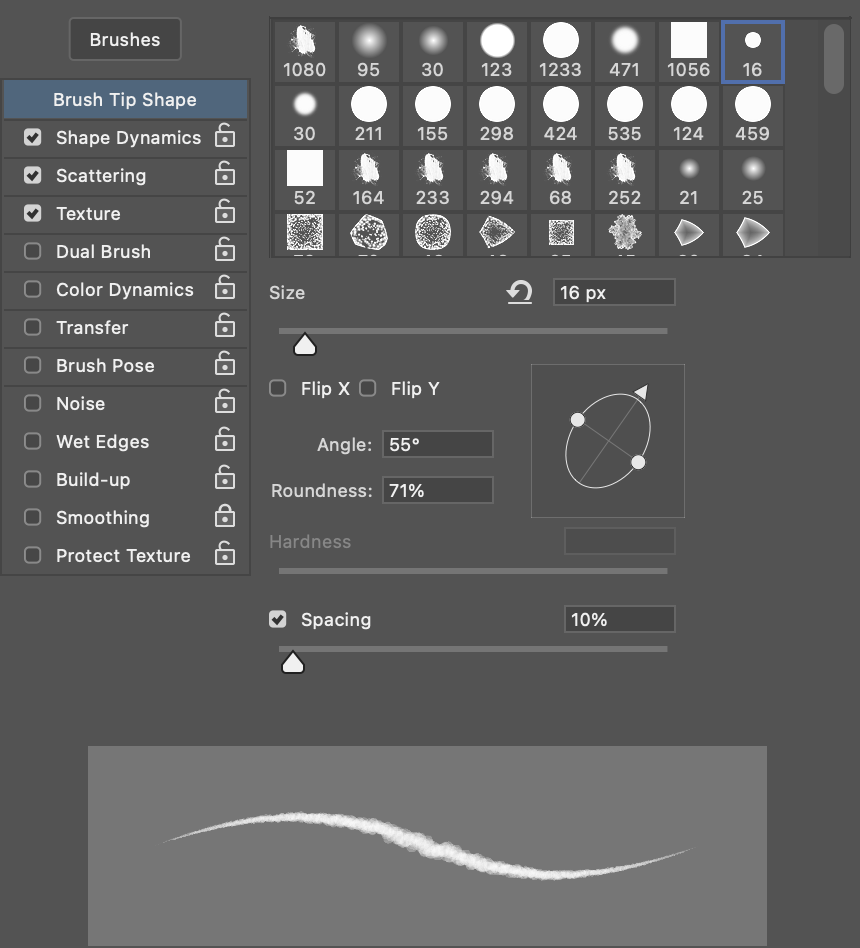
The first Brush will be the basic Ink Brush and will also be the base for the other two brushes.
For the Brush Tip, we use a simple black circle and we set the spacing to 10 percent. The Angle of the Brush is set to 55° and the Roundness is set to 70 percent, to immitate a ink pen tip.
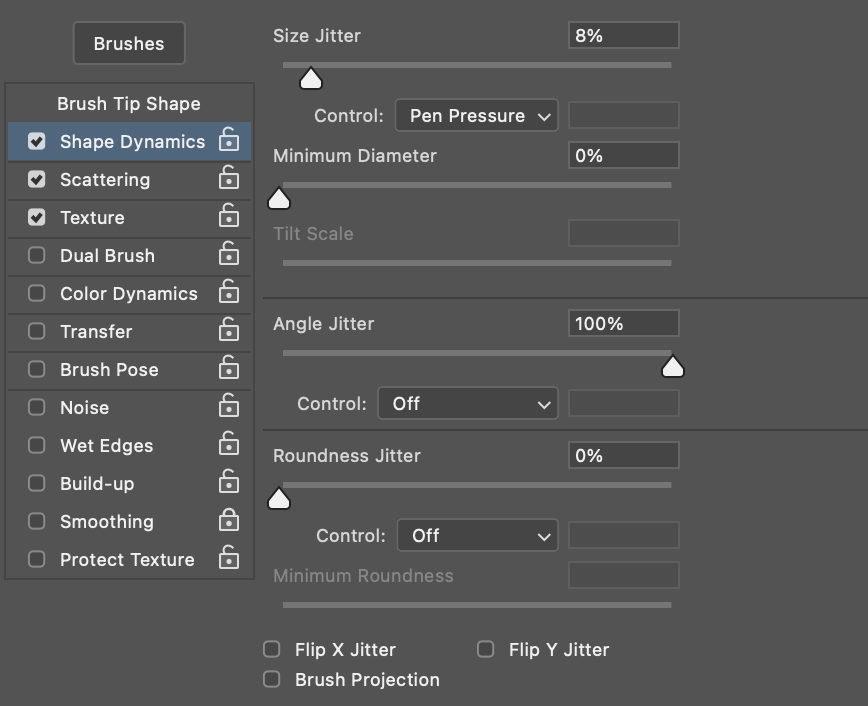
In the Shape Dynamics we set the Control to Pen Pressure and the Size Jitter to 8% to have variation in the stroke and to control it with our Digital Tablet.
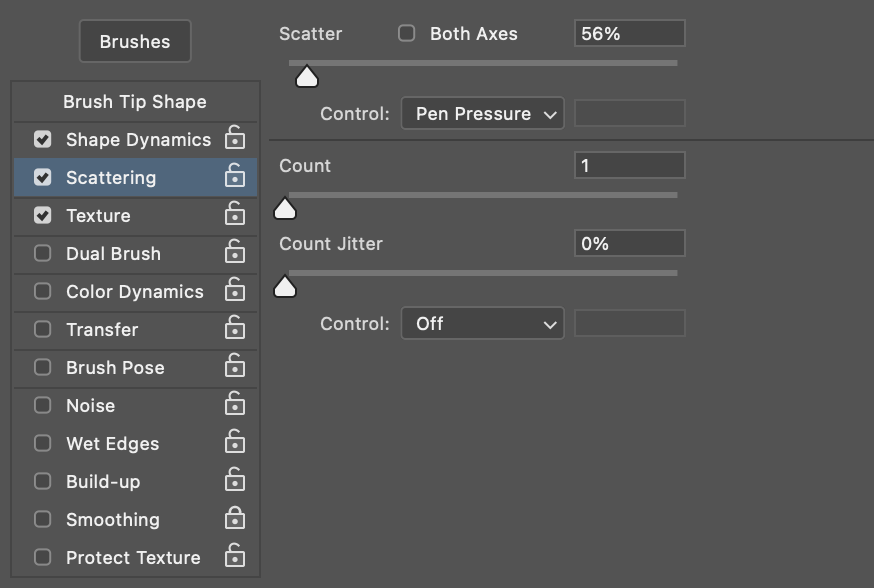
We also set the angle Jitter to 100%. This, and the scattering, will simulate the Bleeding of the ink.
We set Scattering to 56 percent, and set its control also to Pen Pressure.
With these settings, we already have realistic ink brush, so let's also set up the texture.
Brush Settings "Ink"
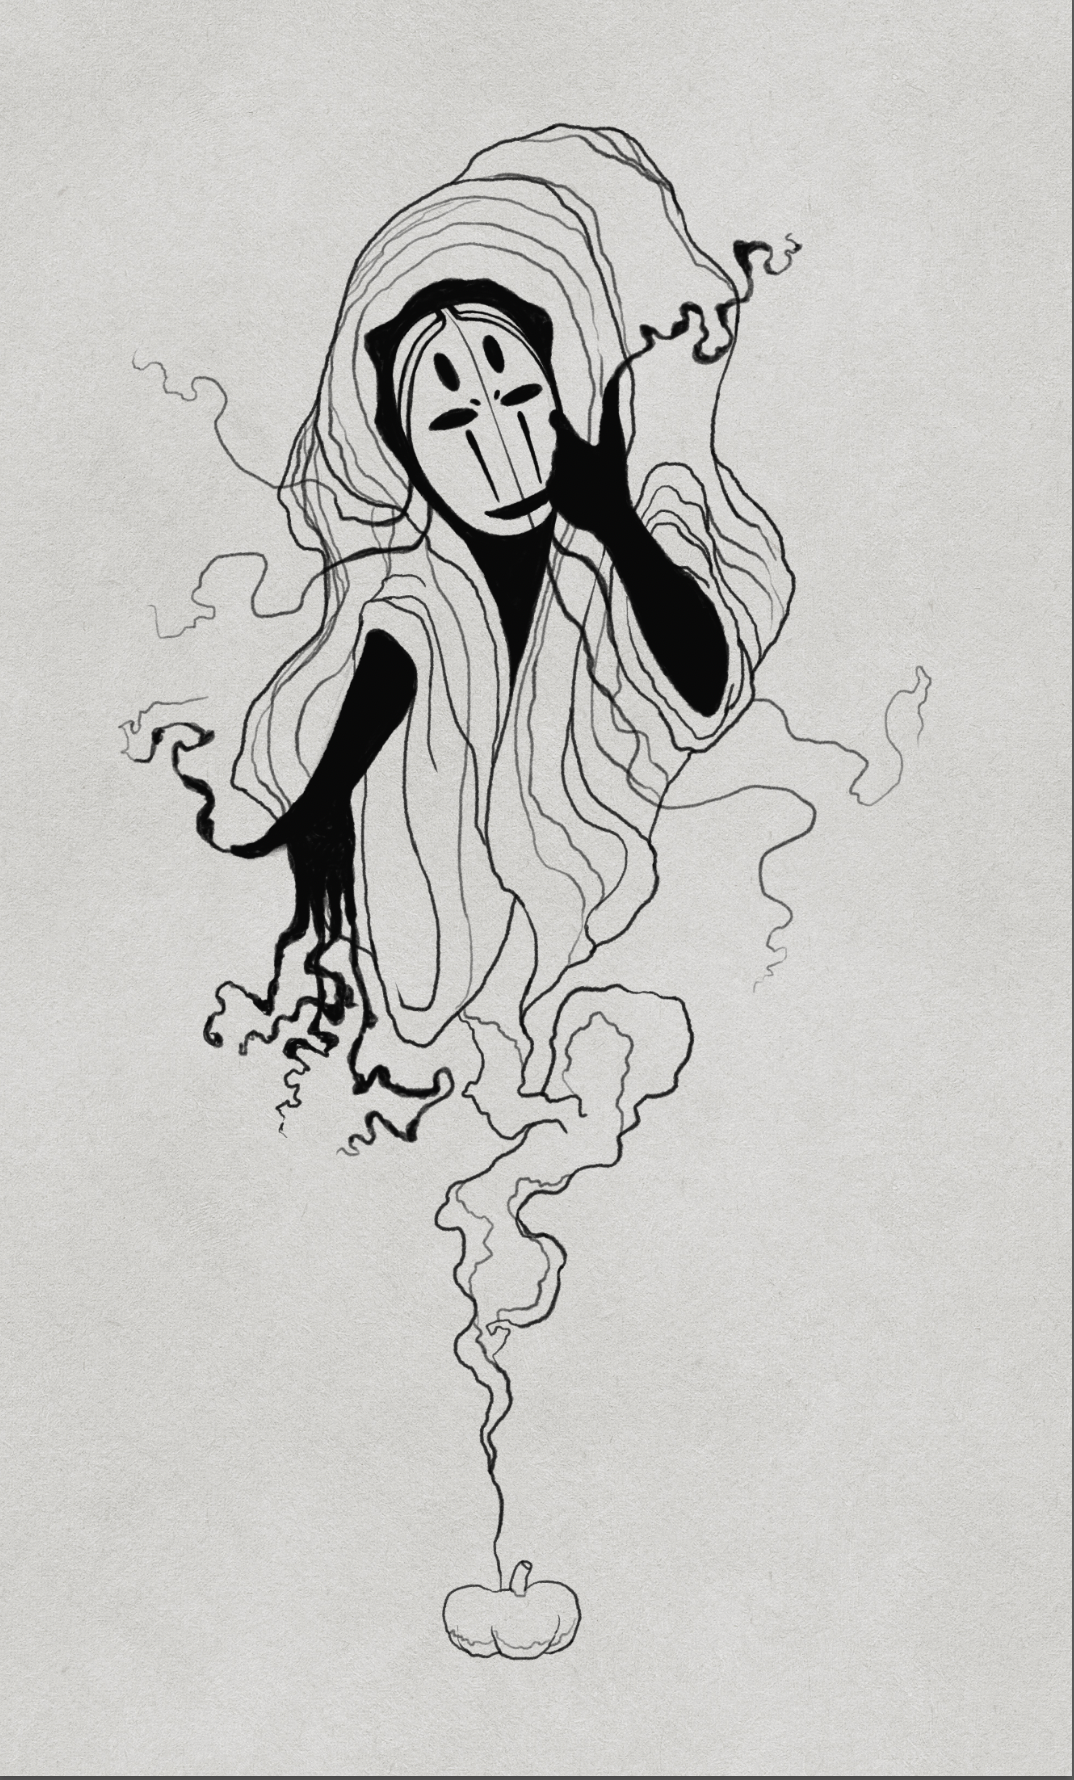
All Lines of the sketch were inked with the 3 brushes
3 Inking Brushes
We are going to create three different bruhses for the inking process.
These brushes are supposed to feel like an inking pen. When we press harder with our pen, we get a thick stroke, and more ink is flowing out of the brush.
When we hold the pen loose, without pressure, we get a delicate thin stroke.
Also, the ink is supposed to look like it is bleeding into the paper and each brush is supposed to have different amounts of water in the ink.
All three brushes will have a texture applied to it, to make it look like we are drawing on paper.

The Brushtip for all of my Ink Brushes is a simple circle
Ink Brushes
